
From your first call to the final report — what happens at each stage, and what you need to provide.
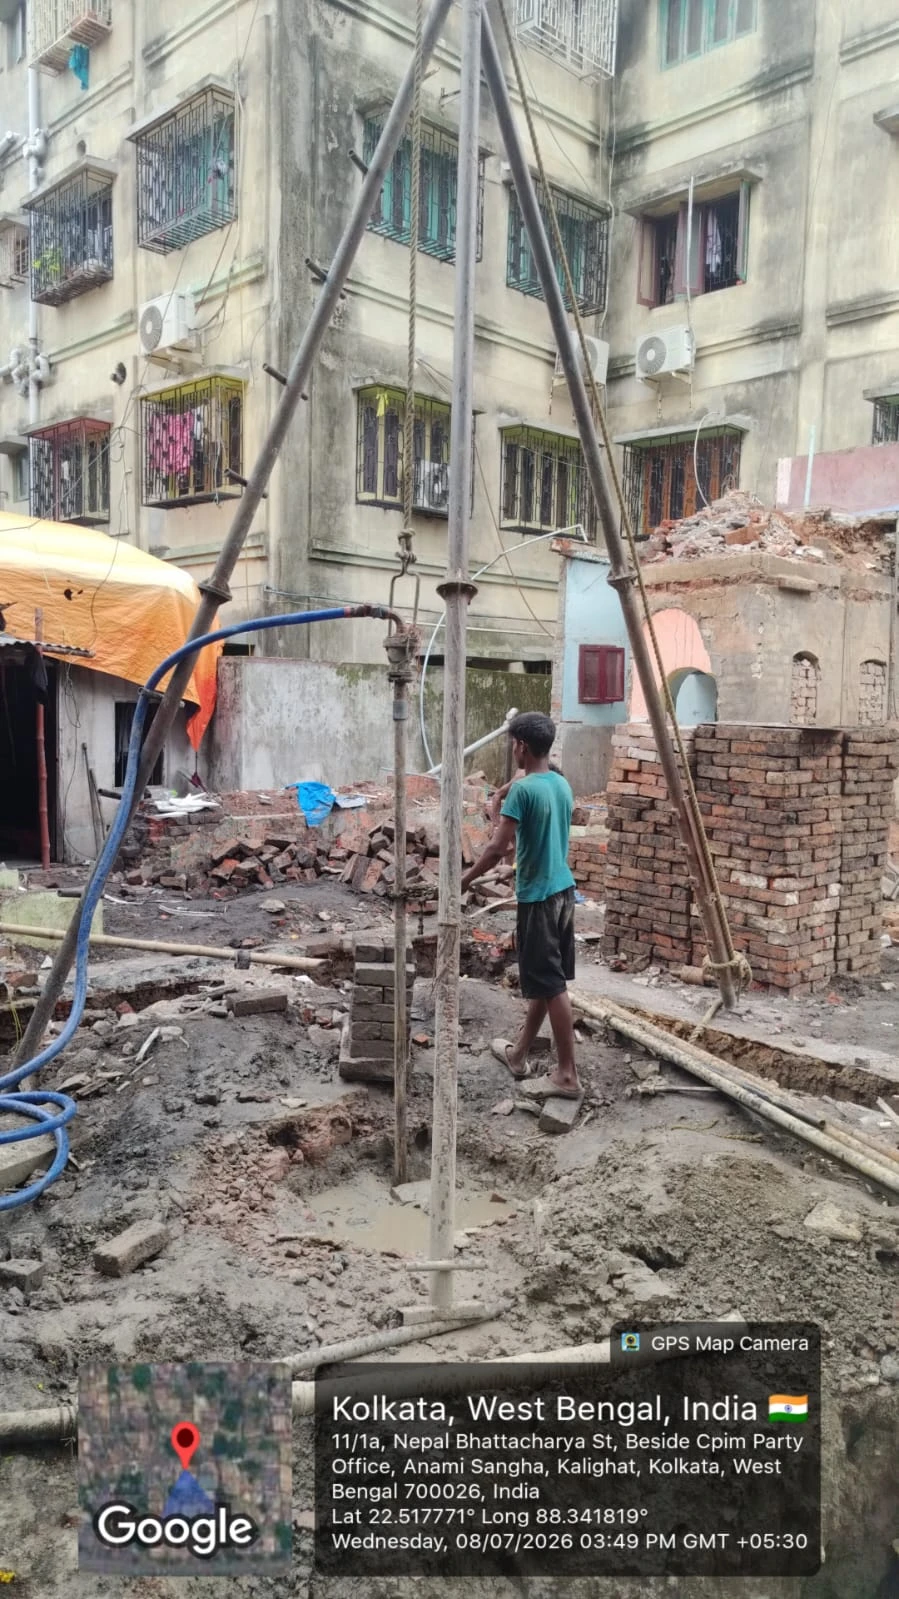
Every safe foundation begins with understanding the ground. But many owners, architects and developers are not sure what actually happens during a soil investigation, how long it involves them, or what they should expect in the final report. This guide explains the geotechnical investigation process step by step, so you can plan your project with confidence.
Key takeaways
- A geotechnical investigation has six main stages, from project details to the final report.
- The scope (number and depth of boreholes, and tests) should be planned for your building and site.
- Field work and laboratory testing produce the data; the engineer’s analysis turns it into foundation recommendations.
- Sharing drawings early helps plan the right investigation.
- A good report gives clear recommendations the structural designer can use.
Planning a soil investigation? Share your drawings and our engineers will plan the scope.
Why Does the Process Matter?
A soil report is only as reliable as the process behind it. Each stage builds on the one before: a poorly planned borehole layout cannot be rescued by good laboratory work, and good field data is wasted if the report does not translate it into clear recommendations. Knowing the process also helps you ask the right questions of any consultant.
The Geotechnical Investigation Process, Step by Step
Step 1: Share your project details and drawings
The investigation starts with your project. The engineer needs to know:
- site location, plot size and layout
- number of storeys or type of structure (building, plant, tower, tank)
- any basement or deep excavation
- approximate loads, if available, and the architectural or structural drawings
Step 2: Desk study and site visit
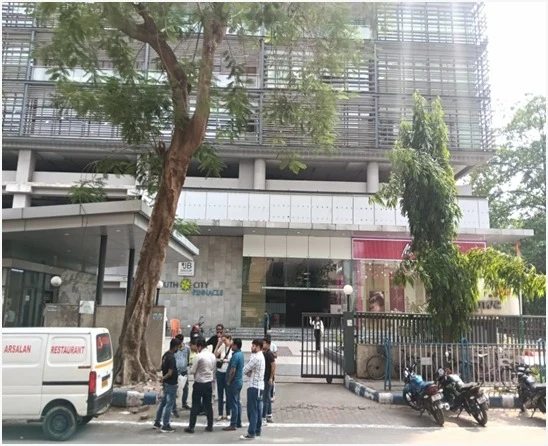
Before drilling, the engineer reviews available information and visits the site to check access for the rig, existing structures, neighbouring buildings, nearby ponds or water bodies, signs of filled ground and any services below ground.
Step 3: Plan the boreholes and tests
Based on the building and the site, the engineer decides the number, location and depth of boreholes, generally following IS 1892. Depending on the project, other tests may be added, such as a plate load test for shallow foundations or tests for groundwater chemistry.
Step 4: Field work
The field team drills the boreholes and, at regular depths and at every change of soil layer:
- carries out the Standard Penetration Test (SPT, as per IS 2131)
- collects disturbed and undisturbed soil samples
- records the groundwater level once it stabilises
- prepares a borelog describing each soil layer
Read more about these tests in our guide to soil testing for building construction.
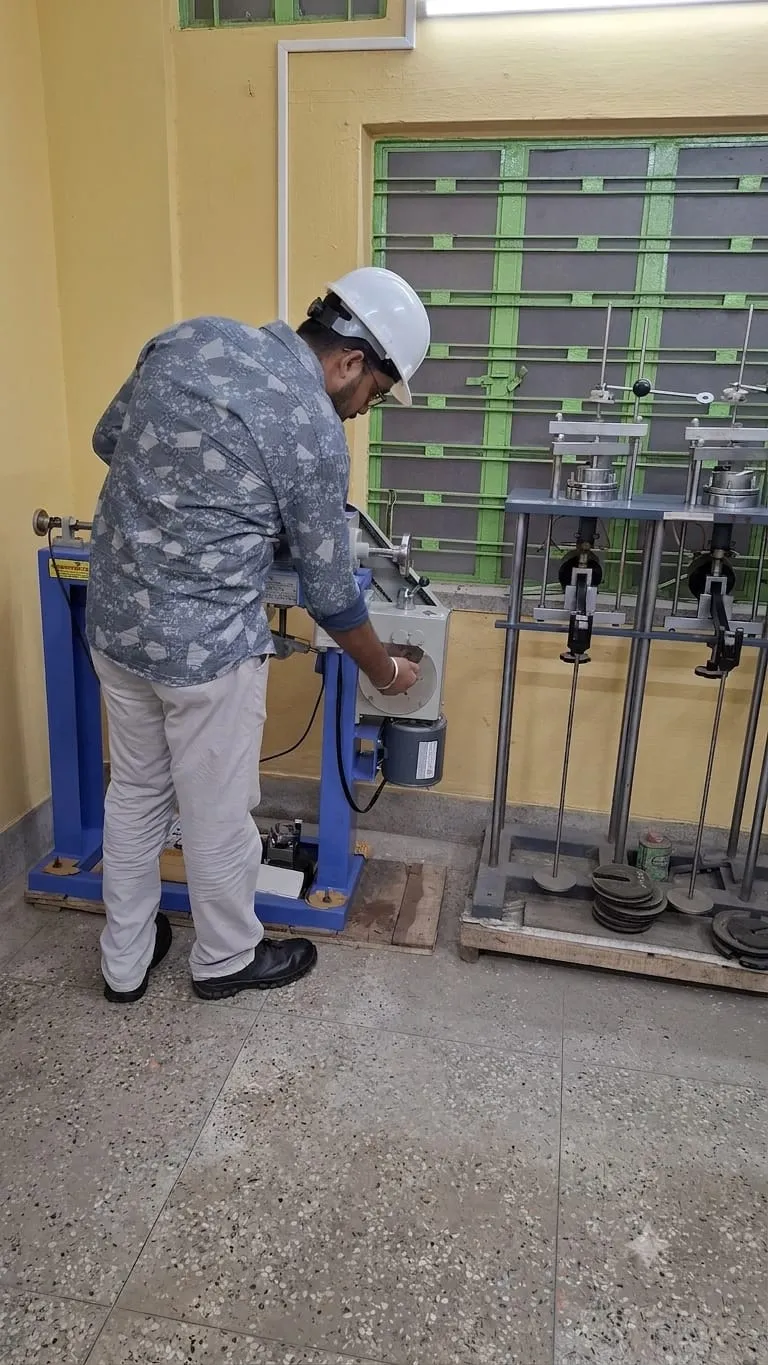
Step 5: Laboratory testing
Samples are tested in the laboratory as per the IS 2720 series — for example grain size, Atterberg limits, moisture content, density, shear strength, consolidation and chemical tests. The tests are chosen to match the soil type and the proposed foundation.
Step 6: Analysis and the geotechnical report
The engineer combines the field and laboratory data to build the soil profile, select design parameters and recommend the foundation: type, depth, allowable bearing pressure, settlement and, where needed, pile capacity. The report is then discussed with the structural design team.
The Process at a Glance
| Stage | What happens | What you provide |
|---|---|---|
| 1. Project details | Scope discussion | Location, layout, storeys, basement, drawings |
| 2. Desk study and site visit | Access, surroundings and site conditions checked | Site access and contact person |
| 3. Planning | Number, depth and location of boreholes and tests fixed | Approval of scope |
| 4. Field work | Drilling, SPT, sampling, groundwater, borelogs | Clear access and a safe working area |
| 5. Laboratory testing | Physical, strength, consolidation and chemical tests | — |
| 6. Report | Soil profile, parameters, foundation recommendations | Review with your structural designer |
After the Report: Support During Construction
The investigation does not end with the report. During construction, founding levels can be checked against the borelogs, and where piles are used, a pile load test confirms the design capacity. To avoid common pitfalls at every stage, see the 5 common mistakes to avoid in soil investigation and our guide to geotechnical risks in construction projects.
Frequently Asked Questions
What are the steps in a geotechnical investigation?
The usual steps are: sharing project details and drawings, a desk study and site visit, planning the boreholes and tests, field work (drilling, SPT, sampling and groundwater recording), laboratory testing, and finally analysis and the geotechnical report with foundation recommendations.
What information should I give before a soil investigation?
Share the site location, plot size and layout, the number of storeys or type of structure, any basement, approximate loads if known, and the architectural or structural drawings. This lets the engineer plan the right number and depth of boreholes.
How long does a geotechnical investigation take?
It depends on the number and depth of boreholes, site access, ground conditions and the laboratory tests needed. Your consultant should give you a schedule once the scope is fixed.
Which code is followed for soil investigation in India?
Subsurface investigation for foundations is generally planned following IS 1892, field tests such as SPT follow IS 2131, and laboratory tests follow the IS 2720 series of codes.
What does a geotechnical report contain?
A good report contains the site and borehole locations, borelogs with soil descriptions and SPT values, groundwater observations, laboratory test results, design soil parameters, and recommendations on foundation type, depth, bearing pressure, settlement and, where needed, pile capacity.
Can the structural designer use the report directly?
Yes, that is its purpose. The report should give the structural designer clear, usable foundation recommendations. Discussing the report together before finalising the foundation avoids misunderstandings.
Ready to start your soil investigation?
WhatsApp / Call: 98304 83074 | 98307 37826 · Email: hello@bspepl.com
Learn more about our geotechnical investigation services in Kolkata and West Bengal.